

Peel‑and‑stick mosaic tiles offer one of the easiest ways to transform a wall, splashback, or feature area — no grout, no messy adhesives, and no special tools required. Whether you are a seasoned DIYer or tackling your first tiling project, the key to a flawless result lies in careful preparation and a methodical approach.
This guide walks you through every stage of the installation, from surface preparation to sealing the finished edges, so you can achieve a clean, lasting finish that looks professionally installed.
What You'll Need
- Peel‑and‑stick mosaic tile sheets
- Tape measure
- Spirit level (laser level recommended for larger areas)
- Pencil
- Utility knife or sharp scissors
- Straightedge or ruler
- Clean lint‑free cloth
- Silicone sealant (mould‑resistant for wet areas)
- Caulking gun
- Smoothing tool or soft rubber roller
Surface Preparation
Proper surface preparation is the single most important factor in peel‑and‑stick installation. The adhesive backing requires a sound substrate to bond effectively — any imperfection or contamination will compromise adhesion over time.
Check the Surface
The wall must be dry, smooth, clean, and free from dust, grease, oil, or loose particles. If you are tiling over existing paint, ensure it is fully cured and not peeling. Freshly painted walls should cure for at least two weeks before applying self‑adhesive tiles.
Clean Thoroughly
Wipe the entire surface with a mild detergent solution or isopropyl alcohol to remove grease and residue. Rinse with clean water and allow to dry completely. Any leftover contamination may reduce the adhesive strength of the peel‑and‑stick backing and lead to tiles lifting at the edges.
Repair Imperfections
Fill any holes, cracks, or uneven areas with a suitable filler and sand smooth once dry. The flatter the substrate, the better the tile sheets will lay flat and the stronger the bond will be.
Step 1 — Mark Your Starting Line
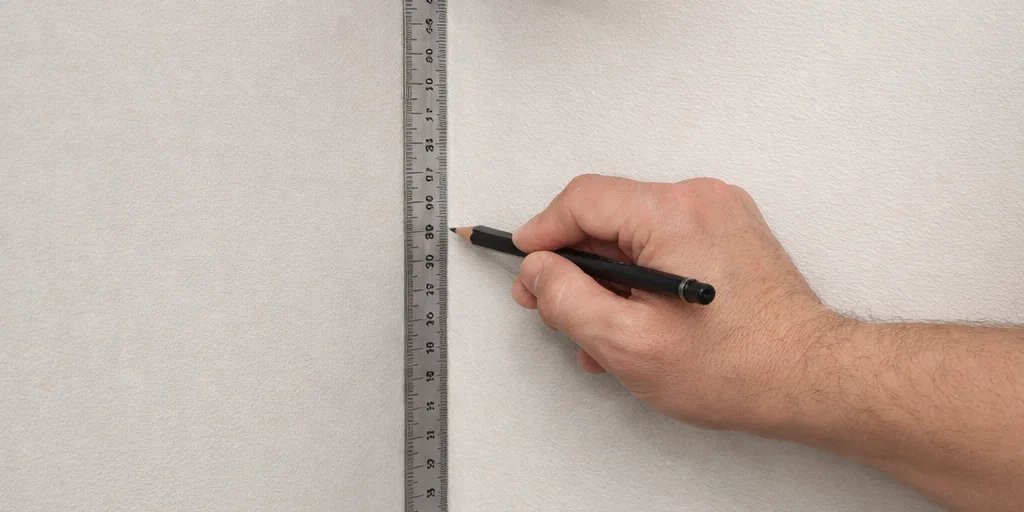
Using a spirit level and a pencil, draw a perfectly straight vertical or horizontal reference line on the wall. This line serves as your guide for the first sheet and determines whether the rest of the installation runs true.
For most installations, starting at the centre of the wall and working outward produces the most balanced layout. If you are tiling a splashback, align your starting line with the edge of the benchtop or the bottom of the cabinets.
A laser level is a worthwhile investment for larger areas — it eliminates the need for repeated marking and ensures accuracy across the full width of the installation.
Step 2 — Remove the Backing Paper
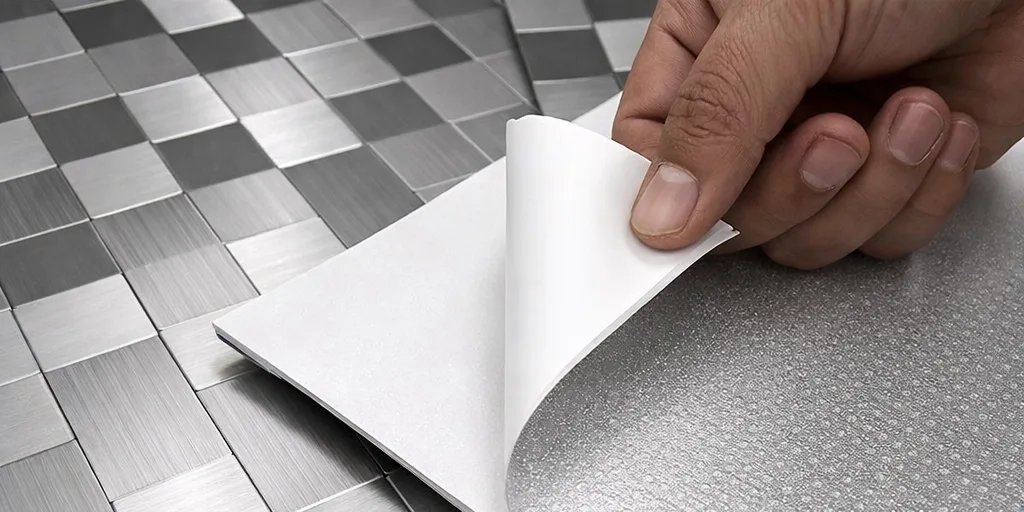
Peel off the protective paper from the adhesive backing of the first mosaic tile sheet. Take care to handle the sheet by its edges to avoid touching the adhesive surface — oils from your skin can reduce bonding strength.
Work with one sheet at a time. Exposing the adhesive to air for extended periods can cause it to gather dust or dry out, so only remove the backing paper when you are ready to place the sheet.
Step 3 — Position the First Sheet
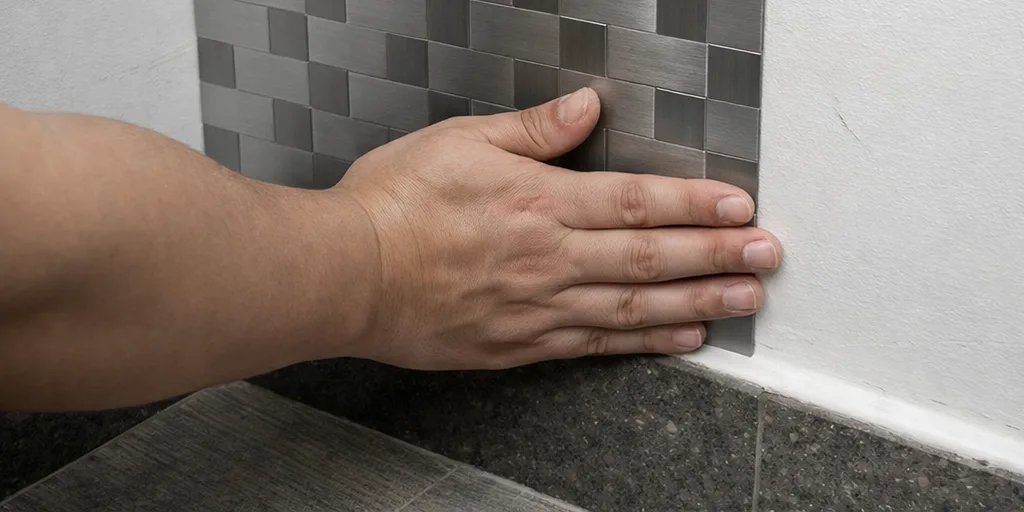
Align the sheet with your marked reference line and place it gently onto the wall. Start at one edge and gradually lay the rest of the sheet down, smoothing as you go. This rolling motion helps prevent air bubbles from being trapped behind the tile.
Do not press firmly yet — the sheet can still be repositioned slightly at this stage if the alignment is off. Once you are satisfied with the placement, move on to the next sheet before applying final pressure.
Step 4 — Continue Installing Sheets
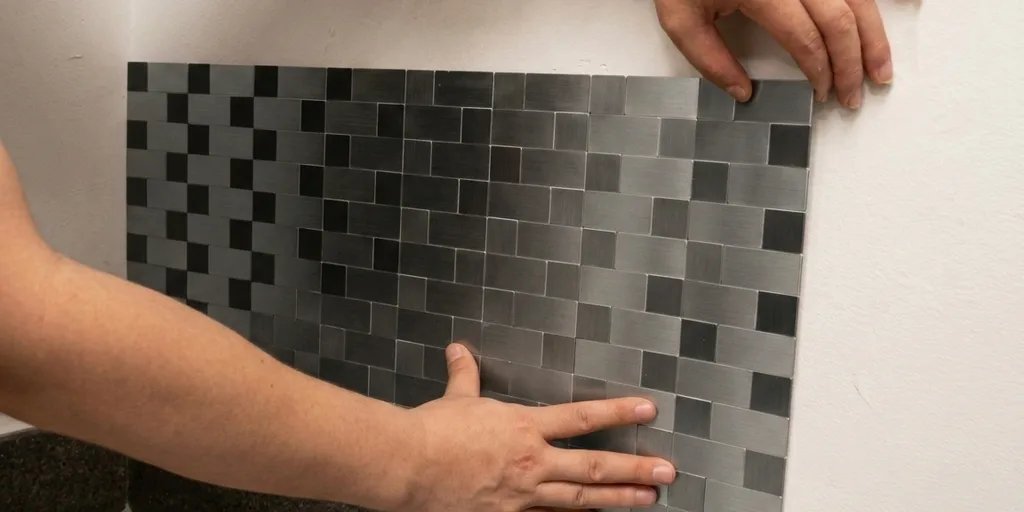
Apply the remaining sheets one by one, joining them edge‑to‑edge so the pattern aligns seamlessly. Pay close attention to the mesh backing orientation — some mosaic patterns have a directional design that must be carried consistently across adjoining sheets.
Use your straightedge to check that adjacent sheets sit flush with one another. A small gap of even 1–2 mm will become more noticeable as you progress across the wall. If a sheet overlaps its neighbour, trim the excess with a sharp utility knife guided along the straightedge.
For outlets, switches, or other obstacles, measure the position carefully and cut the tile sheet with a utility knife before placing it. Cut from the adhesive side for the cleanest edge.
Step 5 — Apply Firm Pressure
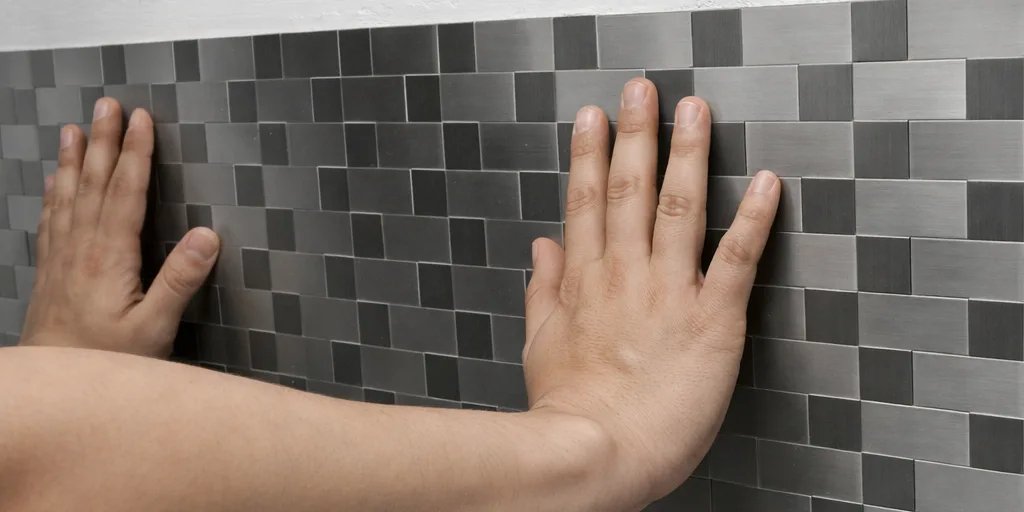
Once each sheet is positioned correctly and the full wall is covered, go back and press firmly across the entire surface. Use a smoothing tool, soft rubber roller, or a clean cloth to apply even pressure — this ensures the adhesive makes full contact with the substrate and eliminates any remaining air pockets.
Pay extra attention to the edges and corners of each sheet, as these are the areas most prone to lifting over time. Run your thumb or the edge of the smoothing tool along all seam lines to set the bond.
Step 6 — Seal the Edges
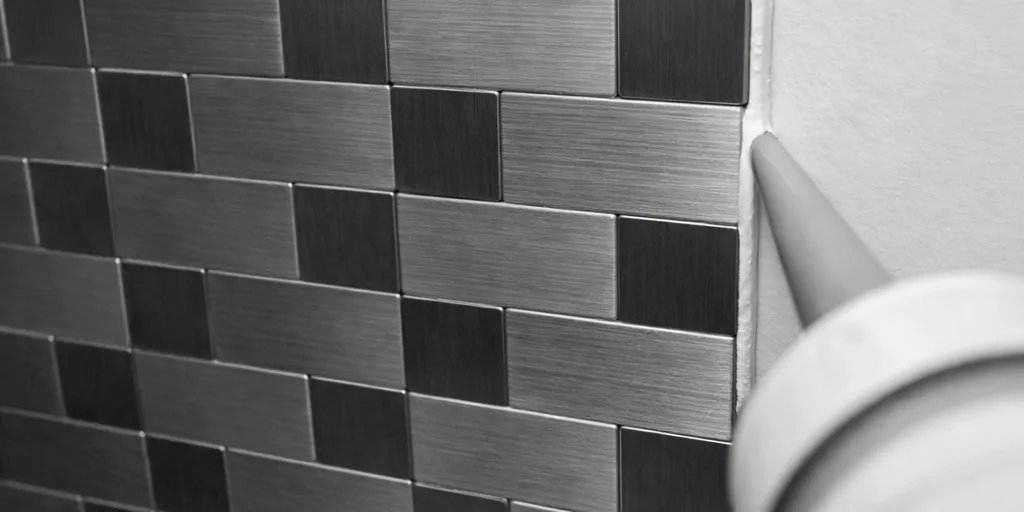
Apply a bead of silicone sealant along all perimeter edges where the mosaic meets the wall, benchtop, or adjacent surface. This protective barrier prevents moisture from seeping behind the tiles — especially critical in kitchens, bathrooms, and splashback applications.
Smooth the silicone bead with a wet finger or a profiling tool for a neat finish. Allow the sealant to cure according to the manufacturer's instructions before exposing the area to water or heavy use.
Pro Tips for a Professional Finish
- Room temperature matters. Install peel‑and‑stick tiles at a room temperature of 18–25 °C. Cold temperatures stiffen the adhesive and reduce initial tack, while excessive heat can cause the tiles to over‑soften and shift.
- Use a grout float for deep seams. If your mosaic sheets have visible mesh gaps, run a grout float or a soft block over the surface after installation to bed the tiles uniformly into the adhesive.
- Avoid high‑moisture areas temporarily. While the silicone sealant cures, limit steam and direct water exposure. Full bond strength develops over 24–48 hours.
- Plan your layout in advance. Dry‑lay a few sheets on the floor first to confirm the pattern repeats correctly and to decide where cuts should fall for the most balanced appearance.
Maintenance After Installation
Peel‑and‑stick mosaics require minimal upkeep. Wipe down with a damp cloth and a mild non‑abrasive cleaner as needed. Avoid using pressure washers, steam cleaners, or harsh chemical solvents, as these can weaken the adhesive or damage the tile finish. Inspect the silicone seal annually and re‑apply if any gaps appear.
Conclusion
Installing peel‑and‑stick mosaic tiles is a rewarding DIY project that can dramatically update a space in a single weekend. The key ingredients are thorough surface preparation, accurate alignment of the first sheet, and firm pressure to establish a lasting bond. By following these steps and giving the silicone sealant time to cure, you will end up with a durable, beautiful surface that rivals traditional tiling — without the mess or complexity.